|
* THIS POST CONTAINS BOTH AFFILIATE AND PRODUCT LINKS,
ALONG WITH LINKS TO THIRD PARTY WEBSITES MENTIONED IN THE POST.*
We love our house, we really do. But it's a little out dated, so we've been working to bring things into the 21st century.
We moved into our home in October, 2019. It took us about five months of house searching before we finally had a bid that a seller accepted. (But that's a whole different story.) Our house is a ranch style, single floor home, build by the original owner in the 70s. We have three bedrooms and two bathrooms, a living room, kitchen/dinning room, pantry, and full basement. The house sits on half an acre in a rural area of West Virginia. There were a number of things about the house that we loved, but one of the biggest things we loved was that the house was in great shape. The original owners not only built the house (and when I say built the house, I mean they did the majority of the work in building the house theirselves) they took incredible care of their home. We moved in and didn't really have to do anything.
Sure the house was a little dated. The colors, appliances, fixtures, and bathrooms were straight out of the 70s and early 80s. Every things worked, it was just getting old. We thought, we could move in and slowly work to update the home as we are able. And that's what we've been doing.
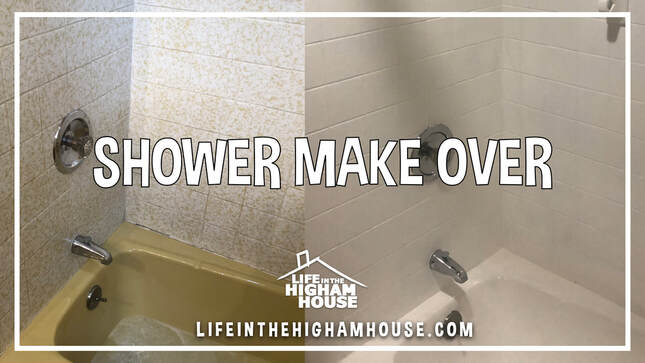
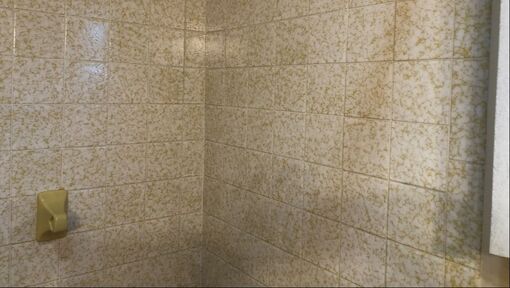
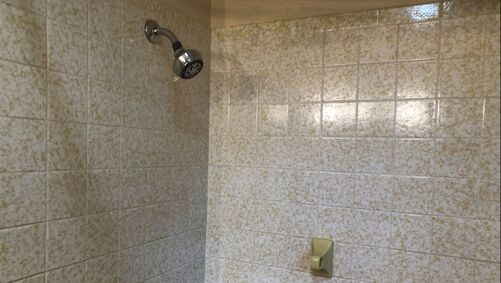
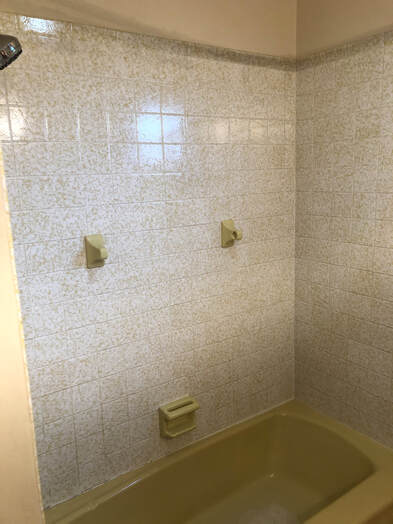
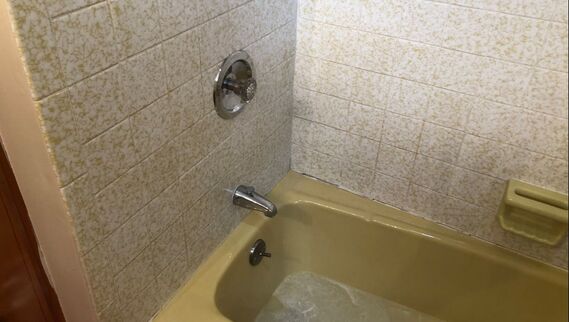
Just recently, Amy set her sights on our main bathroom. We're not ready to replace or fully remodel the room, but we are ready to freshen it up with some paint and updated features. The room screams 70s. The shower walls were a prefab'd, splattered style, tiled insert. The tub and soap dish were a mustard yellow. Not a bright yellow, but a muted, dull, mustard yellow. The vanity was a particle board box with a wood veneer. The counter, a standard commercial formica top with a goal and glitter sink.
We've already painted the walls and the vanity. That alone has made an improvement to the space. But the shower was definitely needing some TLC. We're not really ready to remodel the entire bathroom, but we wanted to do something to freshen up the space. So Amy found a paint kit that was made to cover over existing tub and shower fixtures.
We decided to refinish the tub and shower instead of replacing it, at least for now.
The process required two coats. It also needed a couple of hours to set after the finishing work was completed. So Amy planned to paint the shower a few days before our Memorial Day road trip as this would allow for the coving to dry and cure without us needing to use the shower for a couple of days.
To be honest, we were a little skeptical. Sometimes refinishing kits promise a lot in the way of change, but if you don't follow the instructions perfectly, the results might not be what you hoped for. But $50 to temporarily update the shower seemed worth the risk, and Amy got to work.
Caution, this stuff smells awful! It's recommended that you wear a respirator mask and keep the area well ventilated, which we did. The vapors and smell are strong. We were glad we were hitting the road after applying the covering.
Both the paint seemed to go on easily. We did, however, need to pick up a second can of paint to finish the shower. That aside, the process was fairly easy. We do recommend you read the directions completely before you begin. That was super helpful.
The project took 2 days to complete; a day to paint and dry and second day to apply the finishing coat. Amy finished the project, cleaned up and we were ready to go away for the weekend.
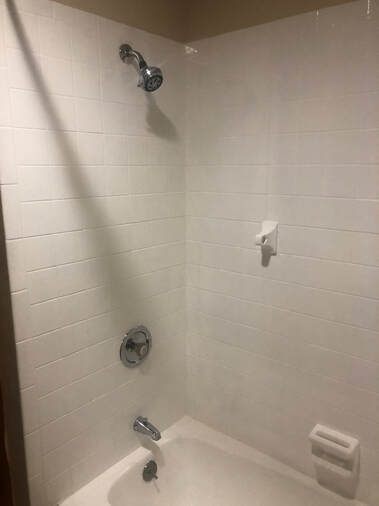
When we got home from our trip, the shower was ready. Dried and cured, it was good for use. And what an improvement! We went with a white finish. It doesn't even look like it was paint. There is a glossy shine that makes the tiled wall look more like a ceramic tile.
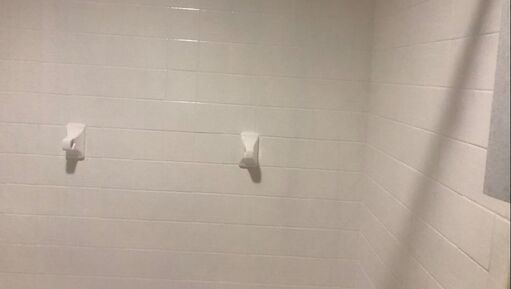
Amy was able to paint right over the existing soap dish and washcloth mounts. It makes everything look fresh and new. And the smell. Gone. We set up a fan to help move the vapors and odor out of room. There was a slight odor when we first came home, but it's completely gone.
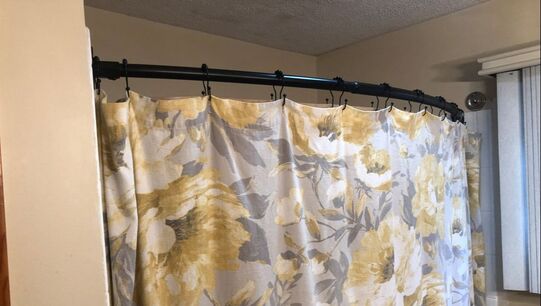
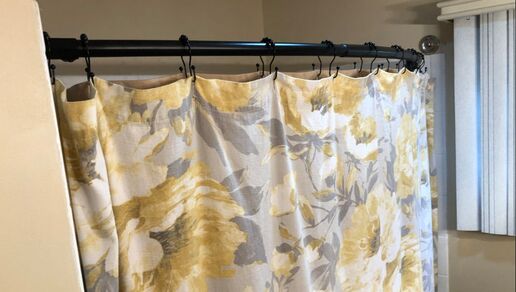
Next on our list was to replace the shower curtain. For that we picked up a curved shower rod from Amazon. We chose the PrettyHome Adjustable Curved Shower Curtain Rod in black. It was super easy to install. I measured and drilled for anchor holes, inserted the included anchors, and screwed the wall mounts to the shower inlay. The adjustable rod holders were then screwed to the wall mounts. I then installed the rod and tighten everything up. Easy-peezy.
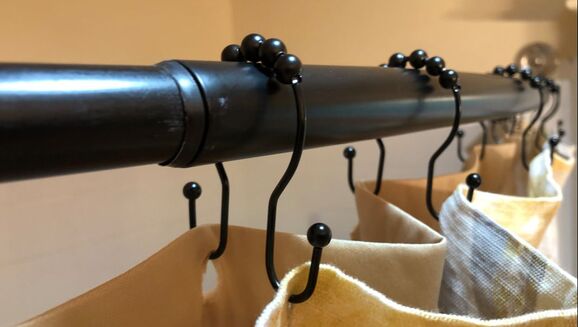
We also decided to replace the shower rings. We went with the recommended rings in black. The Goowin Shower Curtain Hooks come as a 12 piece pack, with a cool double hook design for balance. And with roller balls, the hooks slide smoothly on the rod for easy use of the curtain. We order the black hooks to match the rod. Both look great and will probably set the new color tone when we go to replace the faucets and knobs on the sink and in the shower.
[ affiliate links ]
And there you have it, shower makeover for under $150!
We're super happy with the results. It was an easy and affordable update to the bathroom. We were able to replace the 70's tub and shower with a clean, modern look that will give us some time before we remodel the entire room in a couple of years. (If we get that far...)
- the higham family
0 Comments
Leave a Reply. |
Welcome to the Life in the Higham House , we are glad you are visiting. As a family of 7, we have had our fair share of adventures. We share our stories with the hope of passing along what we have learned, what we love, and what God is doing in our lives to encourage you and your family. But we love to hear from our readers, so please share your thought in the comment section of each post.
Archives
July 2024
|
LIFE IN THE HIGHAM HOUSE
|
Copyright Notice
The content, pictures, and graphics, unless otherwise noted, are the sole property of LifeintheHighamHouse.com. You are free to use a graphic as long as it links back to the original post. You may not edit, crop, in anyway modify or change, remove watermarks or logos, without written permission from LifeintheHighamHouse.com. Materials that are offered as free resources are made available for you to download for personal use only. Please see to the specific requirements of the individual item. |
Life in the Higham House is an Amazon Associate and we earn from qualifying purchases.
|
Managed by Just Ducky Media Group
COPYRIGHT © 2023 - 2024
